Timo "Badge" Becker
Tactical & Armory Analyst · Weapons & Gear, Vehicles & Heists
Tests weapon ballistics, vehicle handling, and heist crew setups for clean, high-payout runs.
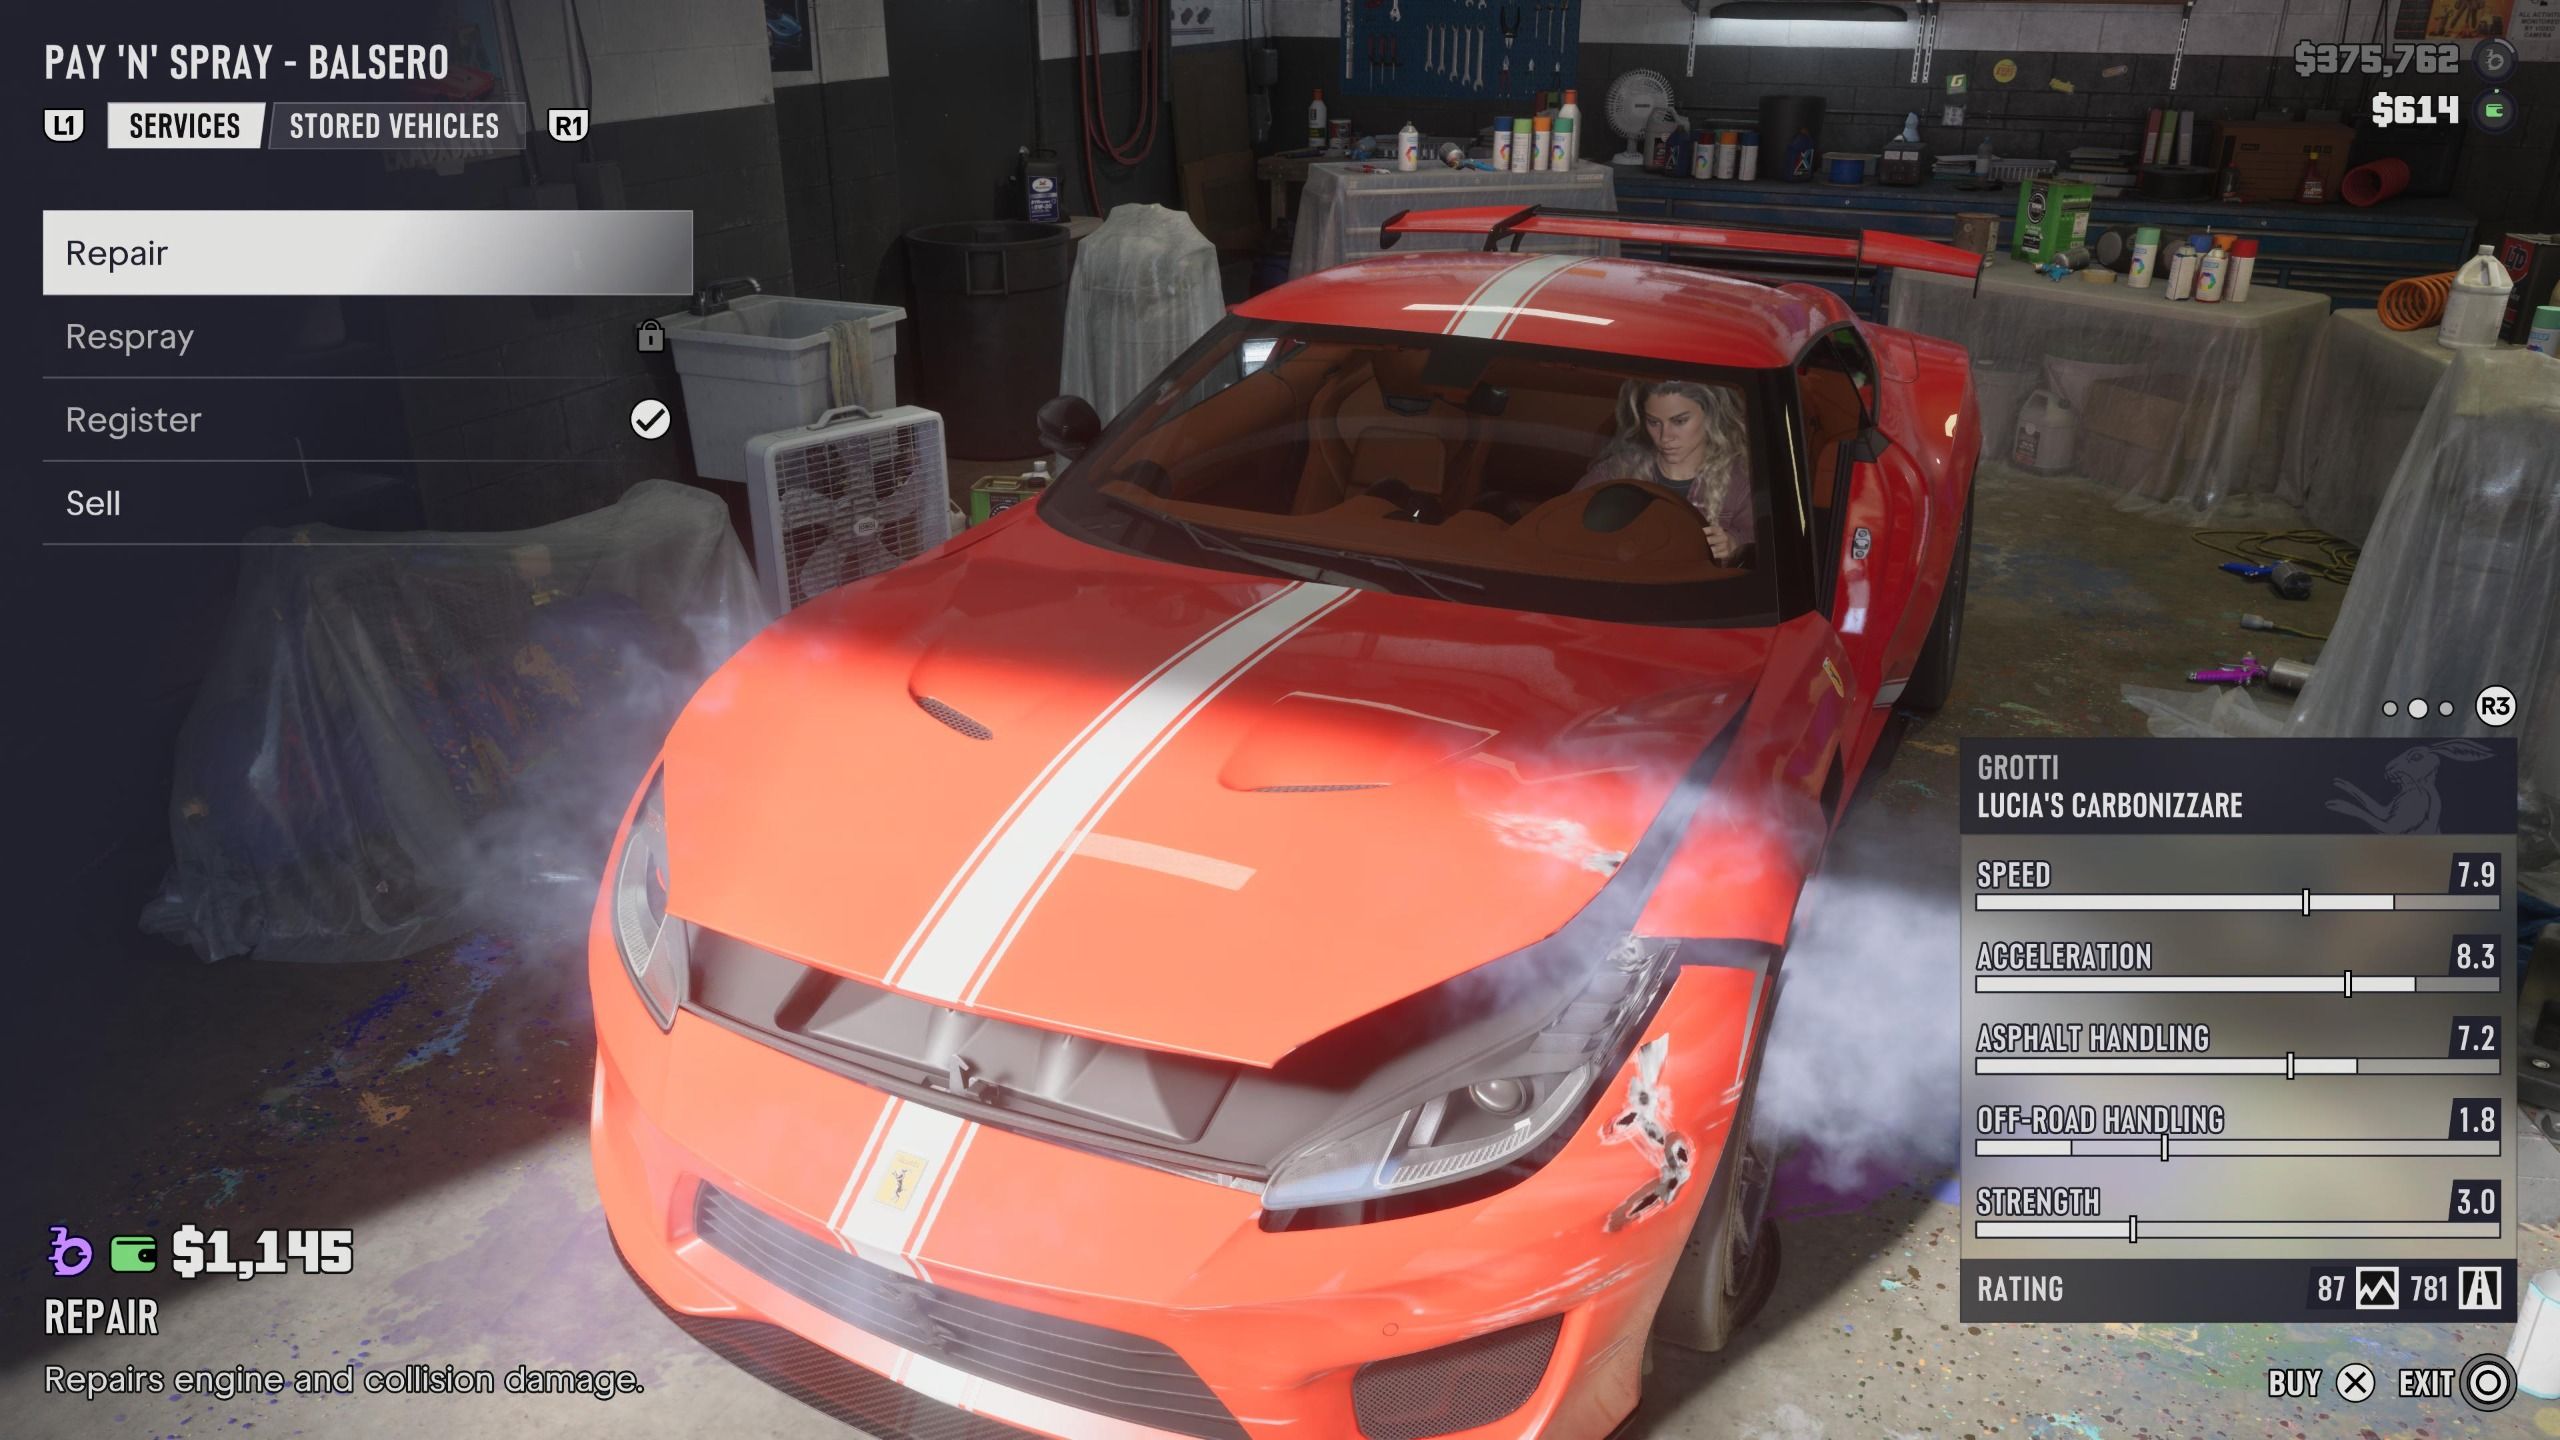
When your ride takes a beating in Leonida, you aren't just scuffing the clear coat. Structural and mechanical damage in Grand Theft Auto VI directly hits your speed, acceleration, asphalt grip, off-road handling, and overall hull strength. Letting your personal car go to hell also compromises its utility as a mobile inventory trunk storage unit, which is the last headache you want when a job goes sideways.
Keeping your wheels rolling comes down to four channels: Mod Shops, Pay 'n' Spray bays, your remote mechanic contact, and roadside gas stations. Treat your car like gear that has to bring you home, and know which bay to hit before your engine quits.
Mod Shops: Full Overhauls and Heavy Armor
Leonida packs 14 official Mod Shops across the map, serving as your go-to garages for permanent upgrades and full structural rebuilds. Your first stop is Coastal Auto Care on the western end of Key Lento in Mariana County, run by a mechanic named Joey.
Pull a wrecked car straight through the illuminated bay door and the servicing menu pops up automatically. Your first click should be the Restore Engine / Repair module (listed as 'Restore the Engine' or 'Full Engine'). That single fix clears engine smoke, patches fluid leaks, replaces missing doors and hoods, and brings your hull and engine output back to 100 percent.
Mod Shops break the rest of their work into five main tabs:
- Pro Builds: Full overhaul kits, including the Retro Build for Jason's starter ride.
- Cosmetics: Matte, gloss, or metallic resprays, curated or custom liveries, and license plate swaps.
- Bodywork: Replacement windows and mirrors, roof tweaks, bed covers, and panel armor.
- Performance Upgrades: Multi-stage engines, brake kits, transmissions, and suspension tuning.
- Wheels and Interior: New rims, bulletproof tires, and dashboard or upholstery repairs.
Watch your cash flow before you start ordering heavy hardware. Street-level repairs and minor part swaps take cash right out of your pocket, including Stage 1 engine work. Anything heavier, like major structural overhauls, advanced liveries, and Stage 2+ engine builds, triggers a 'Requires a bank account' lock until you finish the Chapter 1 mission 'Buck Me!'.
Pay 'n' Spray Garages: Drop Heat Fast
When you have patrol cars on your bumper and rubber shredding off the rims, a full Mod Shop menu is way too slow. Point your hood toward one of Leonida's 19 dedicated Pay 'n' Spray garages instead.
Roll straight under the garage shutter and let it drop. The shop instantly fixes your exterior and internal damage while slapping on a fresh coat of paint. More importantly from a pursuit standpoint, that respray immediately breaks police line-of-sight and wipes active 'Vehicle Heat,' changing your car's visual signature so units cannot re-identify you on the street.
Pay 'n' Spray bays are also mandatory when you are moving hot iron. Early missions like 'Unwanted Attention' force you to run stolen targets, such as the Bravado '95 Bison 900 or Phoenix, straight through a Pay 'n' Spray to scrub the heat before a fence takes delivery. Even on standard chop shop runs, repair stolen rides completely at a shop first if you want maximum cash value.
Joey on Speed Dial: Field Recovery
Once you wrap your introductory work at Coastal Auto Care, Joey lands in your smartphone contacts. Having him on speed dial saves you from limping a smoking engine block across two counties just to reach a lift.
Pop open your phone (Up on the D-Pad), head to Contacts > Joey, and pick either Service Vehicle or Recover Vehicle. Joey handles full mechanical and structural repairs on your registered personal car without you driving into a bay. He is also your lifeline when your personal ride ends up submerged, abandoned in the wilderness, or immobilized miles away from paved roads.
Gas Stations: Quick Roadside Patch-Ups
You don't always have time for a full garage stop between gunfights. Pulling onto a gas station forecourt lets you refuel and knock out quick field repairs on the fly. It won't replace a full Mod Shop rebuild, but it patches minor damage fast without pulling you into a customization bay.
Walkthrough: 'Just a Scratch' Mission
Chapter 1, Mission 5 ('Just a Scratch / Fix Your Car') serves as your formal garage tutorial and unlocks right after 'Gone Fishing'. Jason initiates the job himself, and taking care of the ride bumps up his standing with Lucia.
- 1Step outside Jason's place in Key Lento and hop in his beat-up '70 Ganado. If you wrecked it early, reload a manual save via Pause Menu > Game > Save/Load Game to respawn it outside the safehouse.
- 2Follow the pink vehicle/heart icon west along Key Lento to Coastal Auto Care.
- 3Walk up to Joey outside the garage, hold Up on the D-Pad, and press Confirm (Cross on PlayStation or A on Xbox) to talk.
- 4Pull the '70 Ganado straight into the service bay.
- 5Pick Full Engine for $0 to clear the mandatory repair.
- 6Open Cosmetics > Respray and throw on any paint palette you like.
- 7Roll out of the bay to close out the mission and lock in Joey's remote service.
Don't Burn Cash on Stolen Chapter 1 Rides
One last piece of advice before you start dumping money into every coupe you boost. Throughout Chapter 1, Jason is locked to the '70 Ganado as his one and only personal vehicle. Permanent multi-vehicle registration does not open up until you hit Chapter 2 story milestones, so any upgrades you throw onto street-stolen cars right now are at risk. Save your heavy mods and bulletproof tires for the Ganado until your garage rights expand.